Ombre Rose cake

image

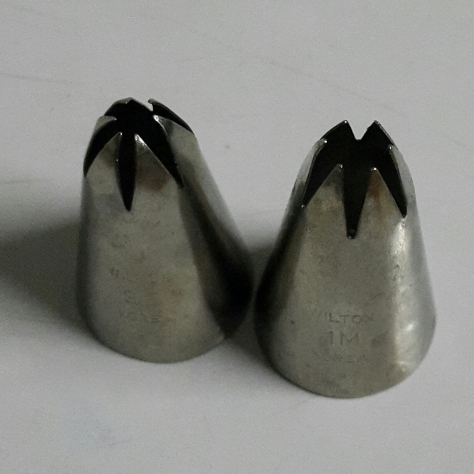
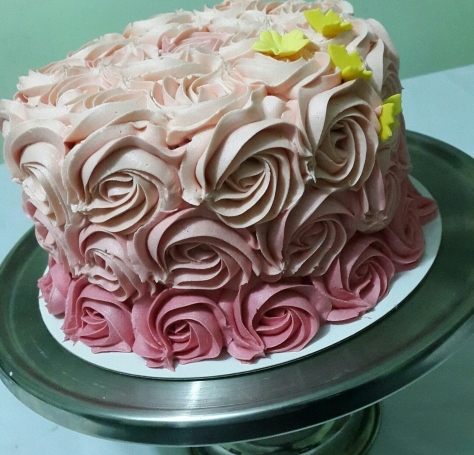
The ombre rose cake is quite simple to make once you get a hang on piping the rise swirl. You can use either the 1M or 2D Wilton tip. I prefer the 1M as it gives more defined swirls.

image

To create the rose swirl cake you will need:

1M tip
Piping bags
Buttercream
Cake, crumb coated in the colour you will use for the rose swirls.

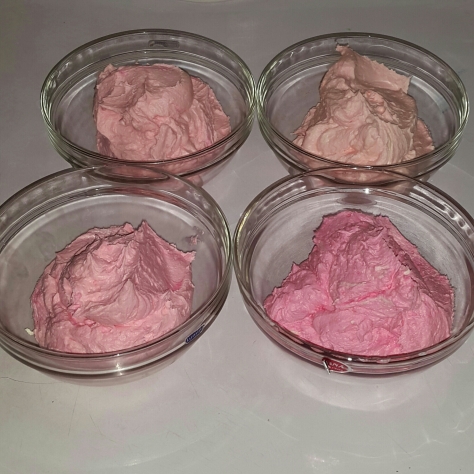
To make the ombre colours, start by colouring 1/3 of the icing in the darkest shade you will be using. Then divide the coloured batch into 2, add yhe same quantity of uncoloured icing into the second batch to lighten it, divide and colour until you have all the shades.

Remember to colour enough as you may not be able to get the exact shade if you run out of a batch.

image

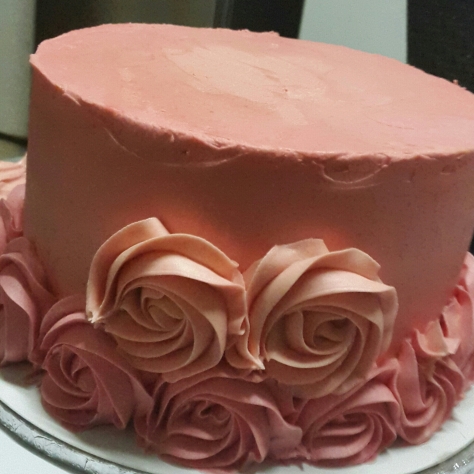
Next, fill you bag with the darkest colour and make the first layer of swirls. You may reverse the colour, starting with the lightest. You may also want to make lines on the cake to help you pipe equals swirls.

image

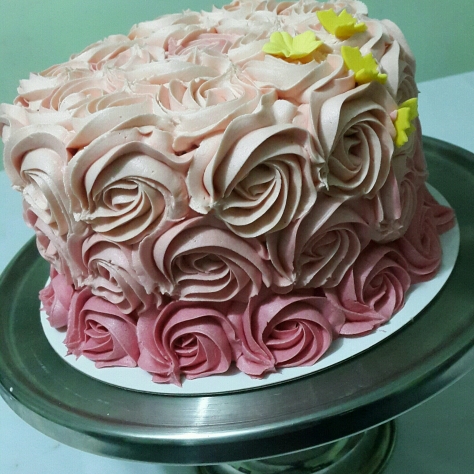
Continue piping the swirls until you cover the entire cake. If you have spaces, just fill them up with stars.

And you have your Ombre Rose Swirl Cake.
image

Doughnuts

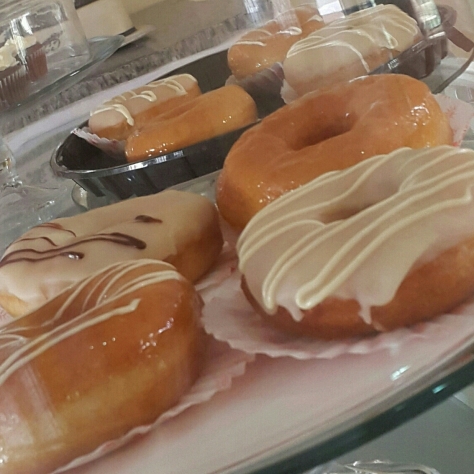
Ever experienced the delight of eating freshly made doughnut, straight from the fire then glazed. That’s one of the benefits of being a baker. Luckily, almost anyone can re-create that experience with this recipe.
image

Doughnuts:

Flour                    900g

Sugar                  150g

Milk                    500mls

Butter                  120g

Eggs                   3

Yeast                  20g

salt                    1 tsp

Butter                 100g

Icing sugar         350g

Milk                   120mls

vanilla               2 tsp

Scald the milk in your microwave and let cool. This process destroys the enzymes in the milk that could interfere with the action of the yeast.
Combine yeast, milk, sugar, salt, eggs, butter and 1/3 of the flour. Beat with your mixer on low for 30 seconds, scrape the bowl then, beat on medium speed for 2 minutes.
Change to the dough hook and add the flour, knead until well mixed 3 – 5 minutes
Cover and let rise until double. Then punch down flatten and roll the dough on a floured table to about 1/2 inch thickness
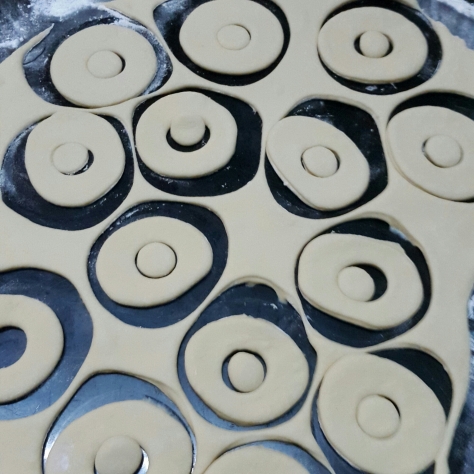
Cut with floured doughnut cutter, cover and let rise the doughnuts double in size.
image

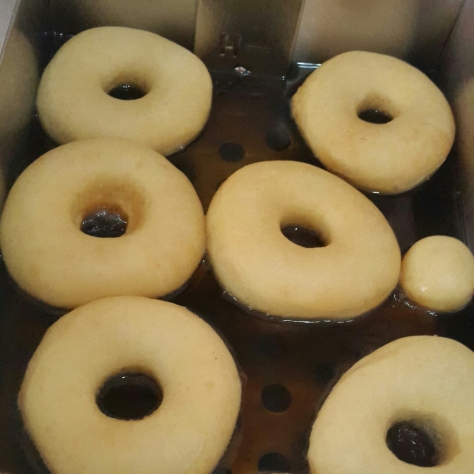
Fry at 170degrees centigrade then drain

image

To make the glaze
Melt butter and combine with the milk. Add the icing sugar and stir over low heat till the sugar is dissolved and well combined.
You can make the glaze while waiting for the doughnuts to proof. then dip immediately the doughnuts are ready and set on a cooling rack to set.

Polker dot cake

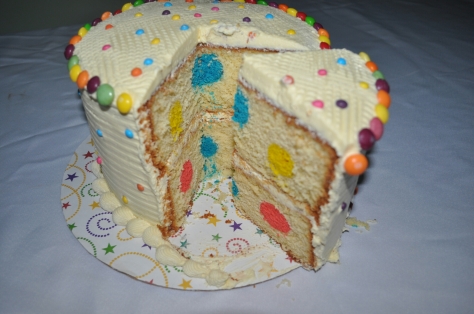
Imagine the surprise when you cut into the cake to reveal the patterned interior. This polker dot cake or any patterned cake is actually easier than you thought.

image

Though most cake makers prefer a slightly denser cake for patterned cake for this technique,  with experience, you will be able to work with your regular cake recipe.

For this tutorial, we will be working with a simple Madeira cake

You will use a cake pop maker for the polker dot cake. You can use the cake pop pan or an electric cake maker. I used the electric cake pop maker.

Recipes:
Butter                      350g
Sugar                      350g
Flour                       500g
Baking powder     4tsp
Eggs                        7

Sift flour and baking powder in a dry bowl. Add lemon zest, combine and set aside
In your mixer, cream butter and sugar until fluffy, add eggs 1 at a time and continue creaming just until well combined.
Fold in the flour until combined.

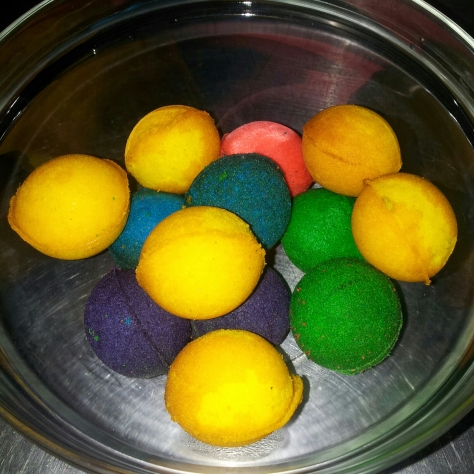
Take out several batches of the batter and colour with food colour. Bake the polker dots in the cake pop pan and cool. This can be made ahead of time and allowed to cool before mixing the main cake

image

Remove the cake pops, trim the edges if rough to get the pops round.

Place a small amount of batter in your pan and place the cake pops on the batter. Pour more batter on the pops to completely cover them. I use a pastry bag to get even distribution of the batter without shifting the pops.

You will have to make layers of the cakes so that the pops are centered in each layer. Make as many layer as you want but a typical layer will be about 1.5 to 2 inches high.

Again target to just cover the pops lightly as the batter will rise when heated, distributing evenly to cover the pops completely.